
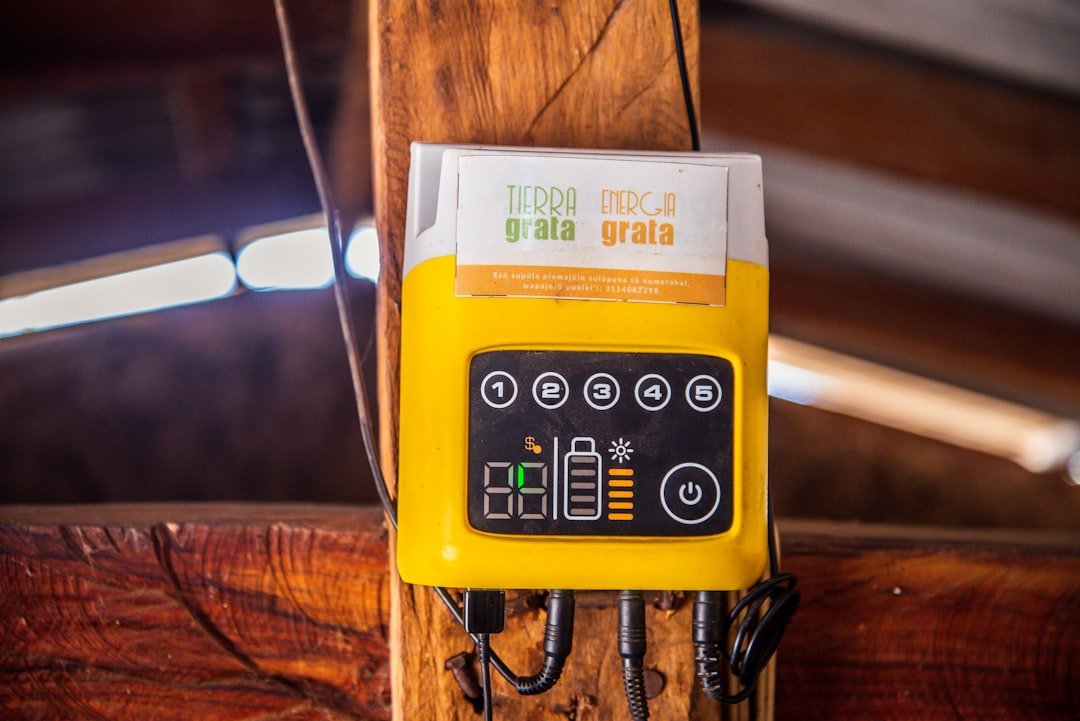
How Solar Charge Controllers Work
Solar charge controllers are the guardians between your solar panels and battery bank. They regulate voltage and current to charge batteries efficiently, prevent overcharge and deep discharge, and extend battery life. Whether you’re setting up a small RV system or a whole-house off-grid array, understanding controllers is essential for a reliable solar setup.
This guide explains how charge controllers operate, compares technologies, covers sizing and installation best practices, and gives troubleshooting and maintenance tips you can use right away.
What a Charge Controller Does
A charge controller sits between your solar array and batteries to perform three main jobs: regulate charging voltage/current, prevent battery overcharge, and provide system protections (reverse current, short circuit, and sometimes temperature compensation). Without a controller, panels can push harmful voltages into batteries, shortening their life.
For an overview of dedicated devices, see the Solar Charge Controllers category to compare models and features.
Basic Principles: Voltage, Current and Charge Stages
Controllers manage voltage and current so batteries receive the correct charge profile. Typical charge stages are bulk, absorption and float:
- Bulk: maximum safe current charges the battery until a set voltage is reached.
- Absorption: voltage held to fully charge the battery while current tapers off.
- Float: lower voltage maintains battery without overcharging.
Many controllers also include temperature compensation so charging voltages adjust with ambient temperature—critical for lead-acid chemistries.
PWM vs MPPT: Key Differences and When to Use Each
Two common controller types are PWM (Pulse Width Modulation) and MPPT (Maximum Power Point Tracking).
PWM controllers are simple and cost-effective. They pull the panel voltage down to match the battery while switching the current. A widely used entry-level option is the Renogy Wanderer 10A PWM, suitable for small RV and marine systems.
MPPT controllers are more sophisticated: they continuously find the solar array’s maximum power point and convert excess voltage into additional charging current. This is especially beneficial when panel voltage significantly exceeds battery voltage, during cloudy conditions, or with long cable runs. For larger systems consider higher-capacity MPPT units such as the 60A MPPT solar controller.
How Controllers Protect Batteries and the Rest of the System
Charge controllers include protective features beyond simple voltage regulation:
- Overcharge protection — prevents battery damage from sustained high voltage.
- Reverse current blocking — stops battery discharge back into panels at night.
- Load control — some controllers offer load outputs with low-voltage disconnect to protect batteries from deep discharge.
- Short-circuit and reverse-polarity protection — reduces risk during wiring or component failure.
Choosing the right chemistry profile (lead-acid, AGM, gel, LiFePO4) on the controller is essential to apply correct setpoints.
Sizing a Charge Controller: Practical Steps
To size a controller, follow these steps:
- Calculate panel current: take the panel’s max power current (Imp) and use worst-case (short-circuit or Isc) values where recommended.
- Account for series/parallel wiring: add currents for parallel panels; voltages add in series.
- Select a controller rated above the calculated maximum current — typically add a 25% safety margin.
- Match controller voltage to battery bank (12V, 24V, 48V).
For support equipment like mounting hardware and connectors, check Solar Installation Accessories so your wiring and fusing meet code and best practice.
Wiring and Installation Best Practices
Correct wiring order and fusing are critical: batteries should generally be connected to the controller before panels (follow the controller manual), and fuses or breakers must protect both PV and battery conductors. Use appropriately sized cables to reduce voltage drop — longer runs need thicker wire.
Grounding, proper panel orientation, and shading management also affect controller performance. Pair controllers with compatible panels; see Solar Panels options if you’re selecting modules for a new system.
Integrating with Batteries, Inverters, and Generators
Controllers are one node in a system that typically includes batteries and an inverter. Make sure controller settings match your battery bank—see Solar Batteries for compatible chemistries and capacities. Inverter charging behavior and transfer switches must be coordinated so multiple chargers don’t conflict.
If you use a hybrid setup or backup generator, pair controllers with an inverter or a complete unit like the Inverters and, when appropriate, a Solar Generator for portable or emergency-ready systems. Many solar generators include an integrated charge controller—verify specs to avoid duplicate charging logic.
Troubleshooting Common Issues
Frequent problems and quick checks:
- No charging: check panel output with a multimeter, confirm correct connections and fuses.
- Low charging current: inspect for shading, dirt, voltage drop from long cables, or incorrect controller settings.
- Battery overvoltage: ensure controller programming matches battery chemistry and temperature sensor is connected if required.
- Controller overheating: improve ventilation, confirm load is within rating, check for faulty components.
If a component replacement is needed, start with the controller and work outward — controllers are often the first line where faults appear.
Maintenance and Extending Controller Life
Maintenance is straightforward: keep the controller and connections clean and dry, check terminals for corrosion, verify firmware updates if the model supports them, and periodically confirm voltage setpoints and temperature sensor function.
For remote systems consider products that include monitoring or Bluetooth so you can read performance without visiting the site.
Quick Checklist Before Finalizing Your Controller Purchase
- Confirm battery chemistry and nominal voltage (12/24/48V).
- Calculate max array current and add 25% margin for controller rating.
- Decide PWM vs MPPT based on panel voltage and system size.
- Plan proper fusing and cable sizing for PV and battery leads.
- Pick compatible installation accessories and mounting hardware.
- Verify controller features: temperature compensation, load output, data logging.
FAQ
Q: Do I always need a charge controller?
A: Yes — unless your panel voltage exactly matches battery voltage and the panel is designed for direct battery charging, a controller is required to prevent overcharging and reverse current at night.
Q: Can I mix different battery types on one controller?
A: No — do not mix battery chemistries or mismatched voltages on the same bank. Controllers apply one charge profile; mismatched batteries will be damaged or undercharged.
Q: How much more efficient is MPPT vs PWM?
A: MPPT can be 10–30% more efficient in many real-world conditions (higher panel voltage, cold temps, partial shading), making it worth the cost for larger systems.
Q: Where should fuses or breakers be placed?
A: Place a battery-side fuse/breaker as close to the positive battery terminal as possible and PV-side protection between panels and controller as recommended by the controller manual and local electrical code.
Q: Can a controller charge LiFePO4 batteries?
A: Yes, if the controller supports LiFePO4 profiles. Verify low-voltage cutoffs and charging voltages match the battery manufacturer’s specifications.
Conclusion — Practical Takeaway
Choose the controller that matches your panel array, battery chemistry and system size. For small, simple systems a PWM controller works; for larger or higher-voltage arrays, MPPT delivers better harvest. Use correct wiring, fusing and settings, and pair the controller with quality batteries and inverters to build a durable, efficient solar system.
Products Featured in This Article
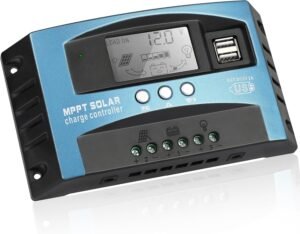
60A MPPT Solar Panel Battery Contro…
Product description Liquid Crystal Display It can display real-time status and data, and also enables mode…
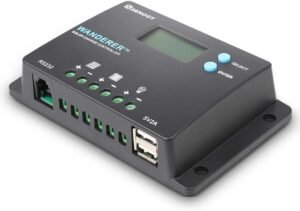
Renogy Wanderer 10A PWM Solar Charg…
PWM (Pulse-Width Modulation) charge controllers are an essential component of solar power systems, as they help…
